


My friend said my video’s intro was a minute too long. I had shared with her a 6 minute video that I was going to post to my YouTube channel. She felt viewers would close my video in the first minute if I didn’t shorten my intro. So, I removed the least important parts of my intro. To do that I used an online video cutter.
A video cutter, also called a video trimmer, is an editing tool to remove sections of a video. Trimming refers to removing sections from the head or tail of a video. Cutting refers to removing parts in the middle of a video. Since people use the two words interchangeably, to keep it simple, I use the cutting below.
Why cut your video?
There are three common situations when you need to cut your video.
1. Remove dead time at the beginning and end
There’s a few seconds of dead time between the start of recording and when we start speaking. There is also some dead time in the end, between when we stop talking and end recording. To improve the video, remove the dead time.
2. Delete mistakes
If you misspoke in the video or there was a mistake while recording, cut out those sections of the video.
3. Remove the boring parts
If something in the video takes up too much time and isn’t interesting, cut it out. An example of a boring part in a video: showing a progress bar or loading screen.
Now that we know the reasons to cut a video, what features do we look for in a video cutter?
Features to look for in a video cutter
1. Cut out parts at any time in the video
Most video trimmers cut just the ends of the video, but the good ones let you cut anywhere in between too.
2. Cut with frame-level precision
When cutting a video, you don’t want to cut out in the middle of a word or in the middle of an action. You want to cut cleanly in between words or actions. For that, you need a cutter that has frame-level precision.
3. Easy to adjust start and end times
A video cutter should provide both a slider mechanism to coarsely adjust the start and end time, and a numerical input for fine adjustment.
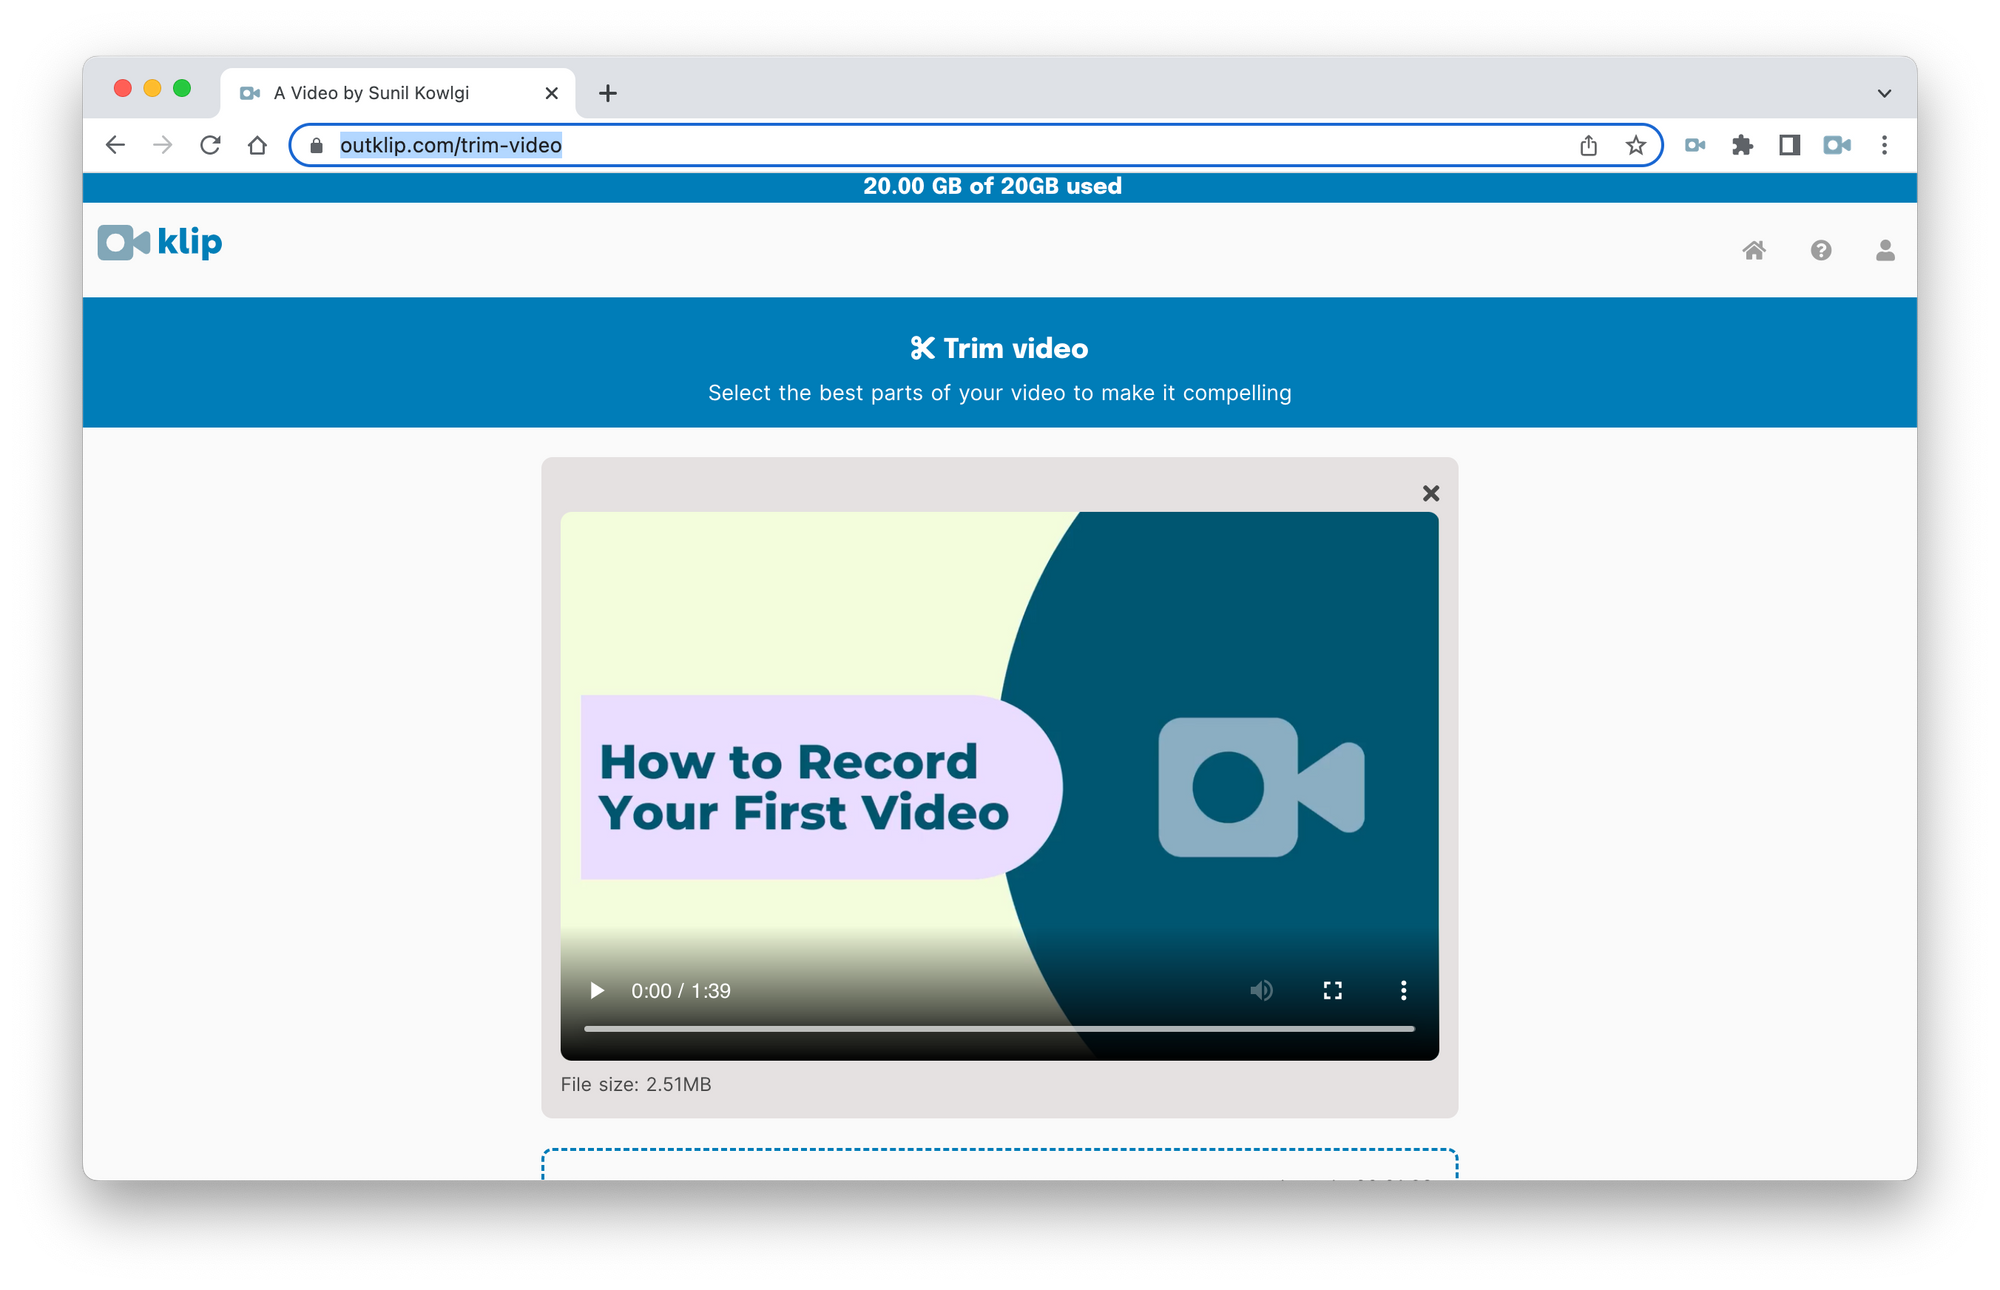
Klip is an online video cutter that has these three features.
Steps to cut a video
Here are the steps to use Klip to cut a video.
1. Open the cutting tool webpage
In your browser, open https://outklip.com/trim-video to open the video cutting tool.
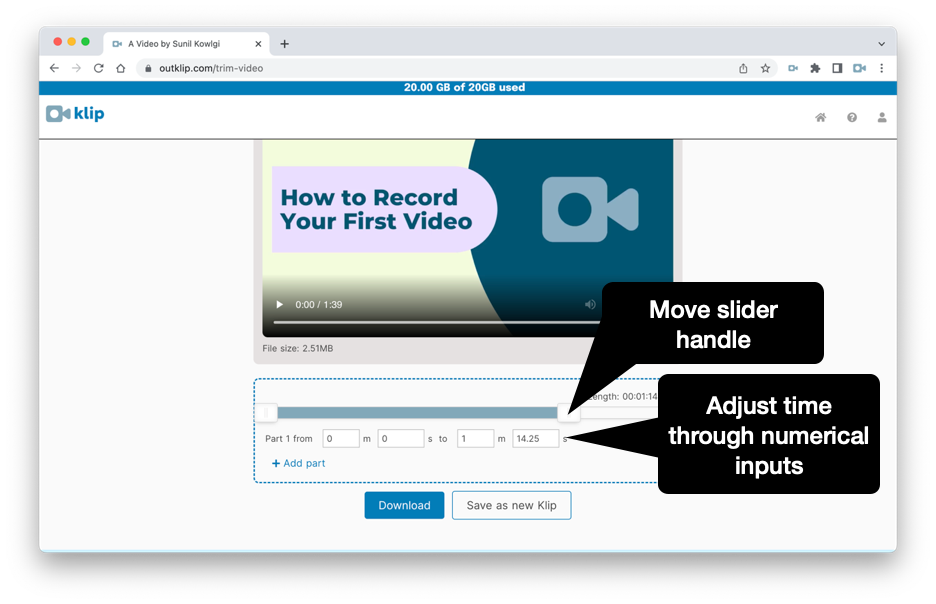
2. Adjust video section
Adjust the slider handles below the video, to adjust the from and to times of the video section. You can also adjust the times through the numerical input boxes.
3. Finish
After you're done adding all the sections you need, click Download. In a few moments, the finished video is saved to your computer.

Summary
The sculpture is already complete within the marble block, before I start my work. It is already there, I just have to chisel away the superfluous material. - Michelangelo
Like Michelangelo, who liberated sculptures from marble blocks, you too can liberate a good video from a raw recording, by cutting superfluous material.
With the Klip video cutter, you can do precision cuts and join them, to produce a shorter and better video.
Email Sunil at sunil@outklip.com