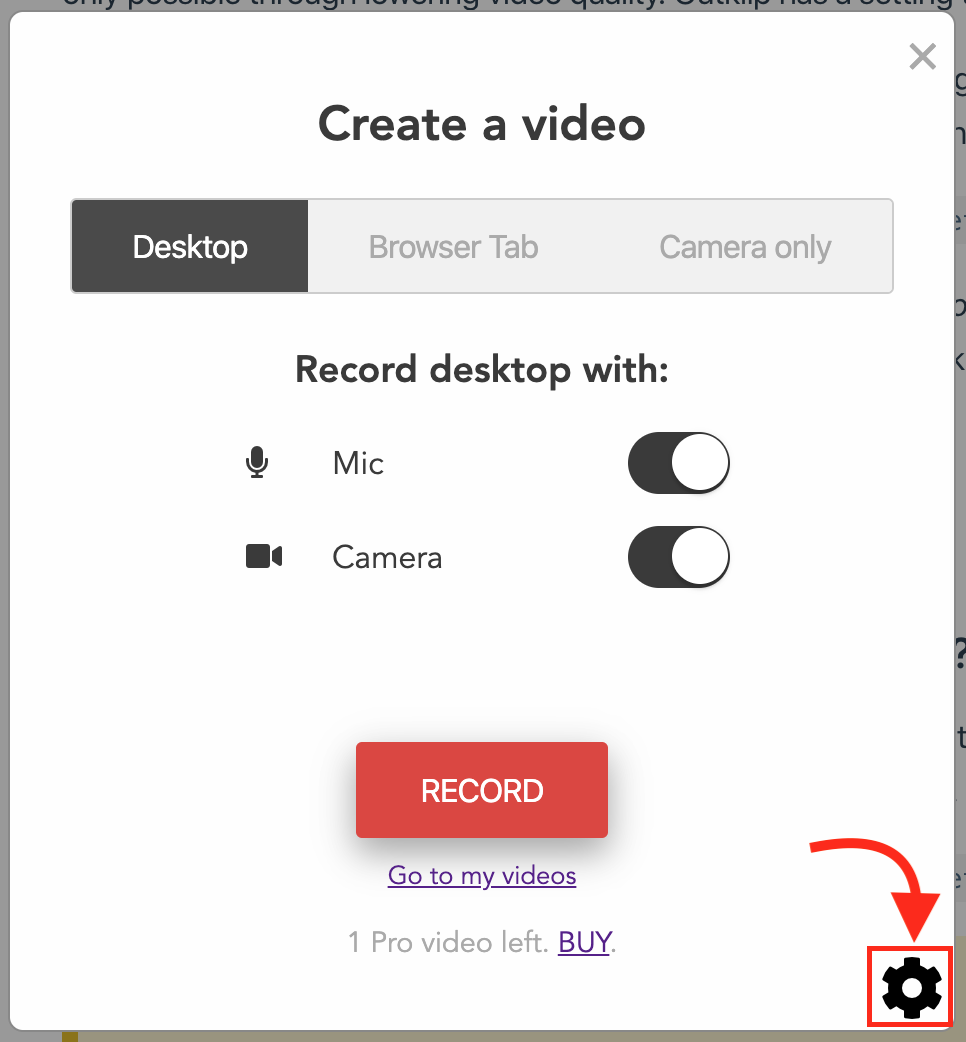
To open the Outklip Chrome extension settings page, click the extension icon to open the extension dialog. On the dialog, click the ⚙️ gear icon. Alternatively, you can open a new tab and paste the following link:
chrome-extension://lbcabedlbpobhpongobnfkbfceedgdjk/settings.htmlNote: The Outklip Chrome extension must be installed to open links beginning with ‘chrome-extension://’.
On the settings page you will find the following settings. To change a setting, click the corresponding Edit button, modify the setting and click Submit.
| Setting | What it does | Default |
|---|---|---|
| Input devices | Select the audio and video input devices. | Varies with hardware setup |
| Video resolution | Sets the resolution of the recorded video. | 720p |
| Video frame rate | Sets the fps of the recorded video. | 30fps |
| Video codec | Sets the video coding format | VP9 |
| Profile photo in place of camera | Shows profile photo in place of camera, when camera is switched off. | Enabled |
| Picture-in-picture camera mode | Enables camera video to go into picture-in-picture mode | Disabled |
| Control panel | Shows control panel in the browser, with buttons to pause/resume and cancel recordings. | Enabled |
| Recording countdown | Sets the value of the countdown timer (in seconds) before the start of recording. | 3 |
| Cloud video storage | Enables upload of videos to the cloud. If disabled, videos are stored in the browser. | Enabled |
| Inline video playback | Enables inline playback of videos on specific websites, when an outklip.com video link is present | Enabled |
| Highlight mouse cursor | Adds a color highlight to the mouse cursor to make it more visible | Disabled |
| Slow internet connection upload mode | Enables video upload on slow internet connection without timing out | Disabled |